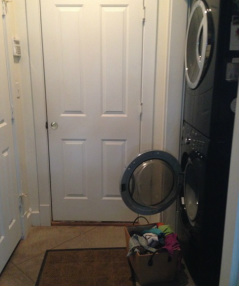
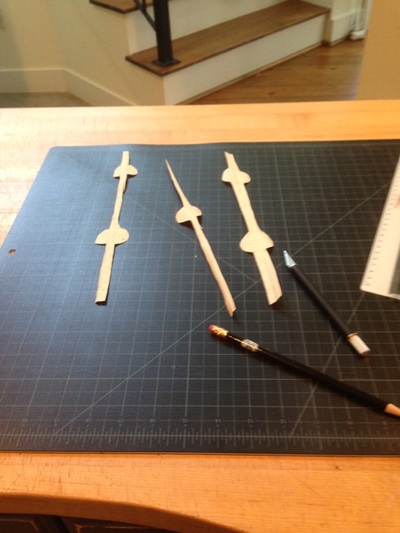
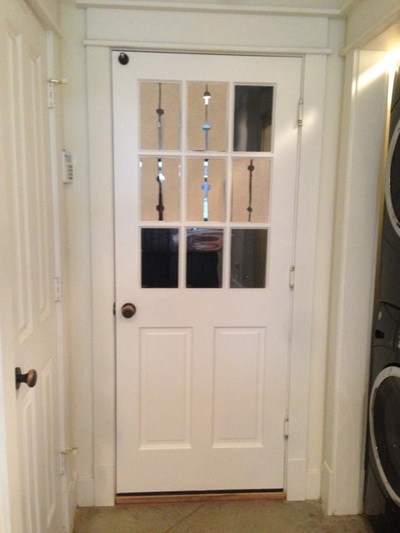
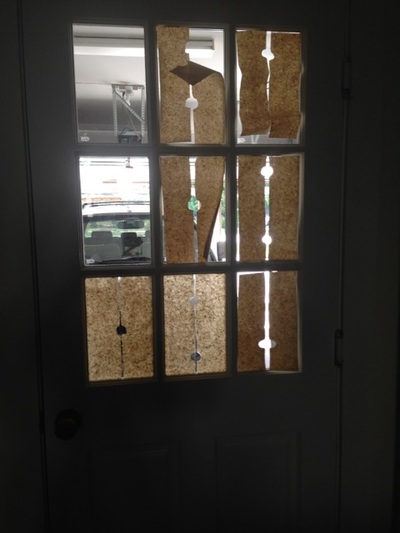
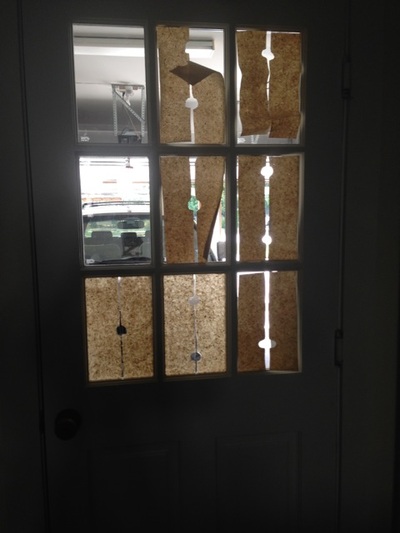
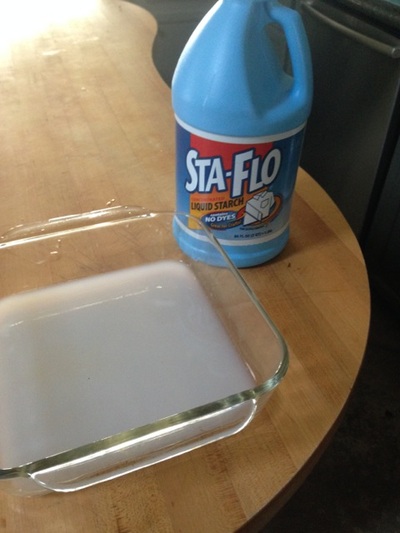
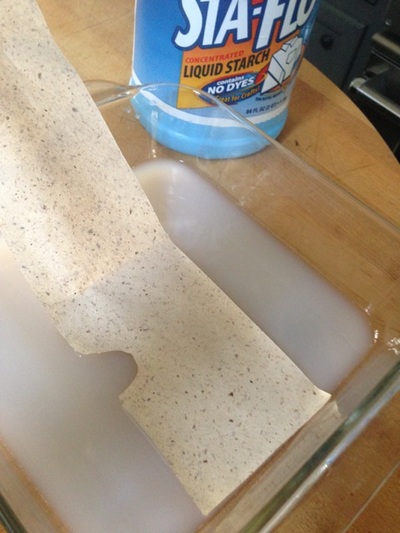
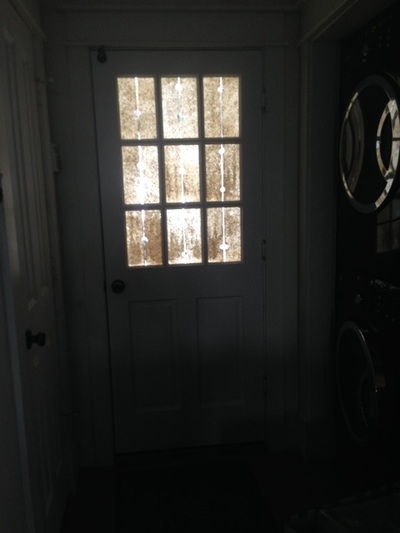
 So, here was the problem: a solid back door connecting to our garage from a multi-functional, very busy alcove in the house. You see the washer/dryer combo on the right; on the left is the panty that holds pretty much all dry foodstuffs. Morning, noon and night, when people were coming and going, doing laundry, and preparing a meal, that's when it would happen. BAM!! Sometimes two but often three doors would bang into each other, along with the people manipulating them. We lived this way for seven years. The Solution: Visibility The obvious solution would be to install some sort of a glass door, right? But we had to be careful. We keep a clean garage, but in the end it is a garage. A clear pane of glass would give way to a beautiful vista onto . . . my car. So we had to come up with a screen of some sort. We had used rice paper on a solid pane front door in the past , so we had some left over -- just enough for the classic nine-pane half-door we found at Lowe's, in fact. (A little aside: fire code says that the doors leading to a garage must be metal and fireproof. Obviously, we opted to ignore this precaution, since our master bedroom is right over the garage of our townhome. Our notion is, if there's a fire, we're goners anyway. We did keep the metal door for the next owners.) The Installation: Simple as 1-2-3 The first step was to cut nine rectangles the size of the individual panes. I measured, and cut a bit large -- there's time for trimming and other adjust ments later. The next step was deciding on a design pattern. I knew I wanted something that let light in, but obscured the view. I wanted to be able to see, not full figures, but shadows -- enough to keep from getting my head knocked one more time. I also liked the idea of being able to use a lamp in the garage at night to shed some light on the darkish alcove. I used a freeform design I've used before. It's really lines and globules cut out of the center of the rectangle. For me, it has enough repeat to look purposeful and enough variety to look creative. After cutting, I fitted paper to the panes using cello tape temporarily, adjusting the design and matching the centers. The Miracle of Fabric Starch Here's the really easy part: Any grocery store carries regular old liquid starch -- or at least they do in my part of the country, where pinatas are plentiful. A gallon jug is inexpensive and goes a long way. I used to dilute the starch for projects like this, but now I just use it straight up. As you can see, I pour a quantity into a shallow flat pan, then just drag the pre-cut pieces through the starch. It is messy, but cleans up with water, whether on your hands, your floor, or the window itself. I work from a laid-out version of the pieces in the right position, so that there's no confusion. One piece at a time, I apply the soaked rice paper piece to the inside of the window. You'll be glad to know there's a little "give" to the paper, and you can adjust it for a while. Don't worry about any overage on the edges -- you can go back with a straight edge razor once it dries and clean up.
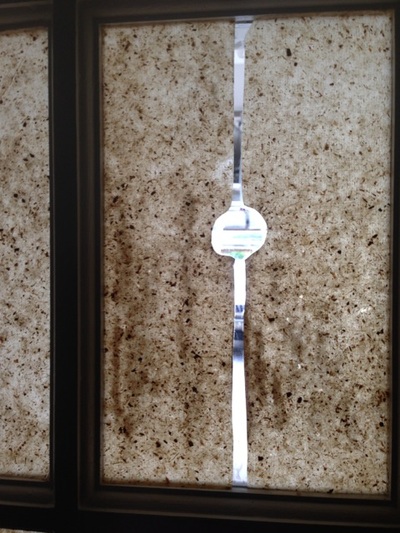
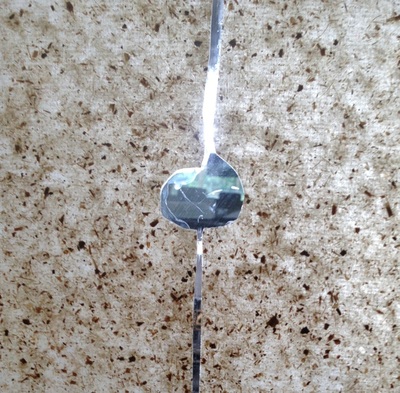
As you can see, the finished application does just what we had hoped: lets light in and provides enough visibility to avoiding traffic collisions at the back door. Lord knows, we have enough run-ins as it is!
0 Comments
Leave a Reply. |
Her Point of ViewSo many Stay in touch!
|
Categories
All
American Made
Color Palette
Cool Office Supplies
Decorating
Design
Fashion
Furnishings
Green Living
Home Decor
Made In USA
Memories Of A 60-year-old
Modern Home
Modern Housewares
Modern Life
Nature Native Plants
Product Design
Summer 2016
Unique Dish Towels
West Elm

 RSS Feed